Passkeys
Learn how to sign in to your account with Face ID, Touch ID or a security key, without having to type a password or use a two-factor code.
A passkey allows you to sign in to the VPSBG Console with the screen lock of your device, such as Face ID, Touch ID or Windows Hello as well as with a hardware security key. When using a passkey, you will be directly signed into your account saving you time and effort by skipping the need to type in your password or utilize your 2FA key, combining security with efficiency.
The private part of a passkey always stays on your device or in your password manager. We only keep the public part, which we utilize to check every time you sign-in.
Adding a passkey doesn't automatically disable your password. You can still use your credentials to log into the VPSBG Console. Additionally, your two-factor authentication also stays active, protecting that traditional login method.
RequirementsCopy link
- A browser that supports passkeys. The latest versions of Chrome, Safari, Firefox and Edge already have this integrated.
- A device with a screen lock (a fingerprint, face recognition or a PIN) or a FIDO2 security key with a PIN or a fingerprint reader set up. We ask the device or the key to verify you every time you log in so that a key without one of these can't hold a passkey for your account.
An account can have up to 10 passkeys.
Anyone who can unlock the device that contains your passkey can sign in to your account! Only add passkeys on devices and password managers that are private and noone else has access to them!
How to add a passkey to your accountCopy link
Start by logging into the VPSBG Console. Next, click on My Profile in the top right corner and select Security. Next, look for the Passkeys section in Password & Access. Then, click on the Add Passkey button.
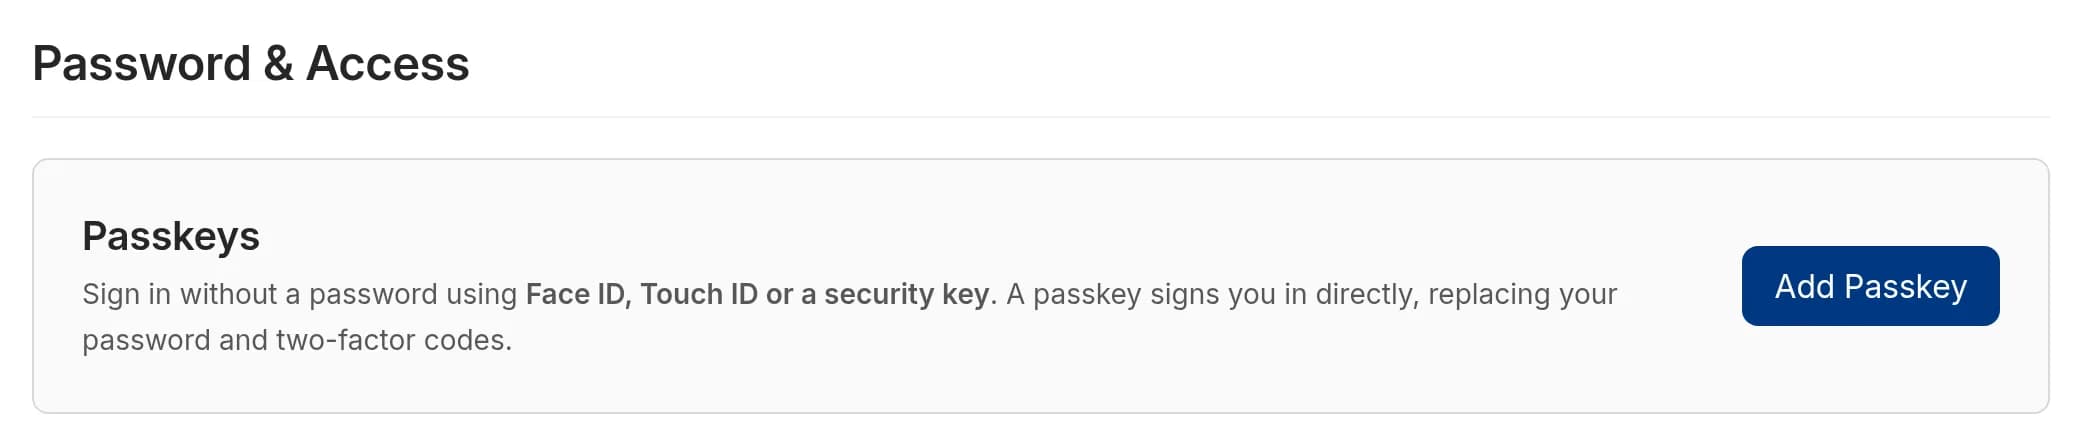
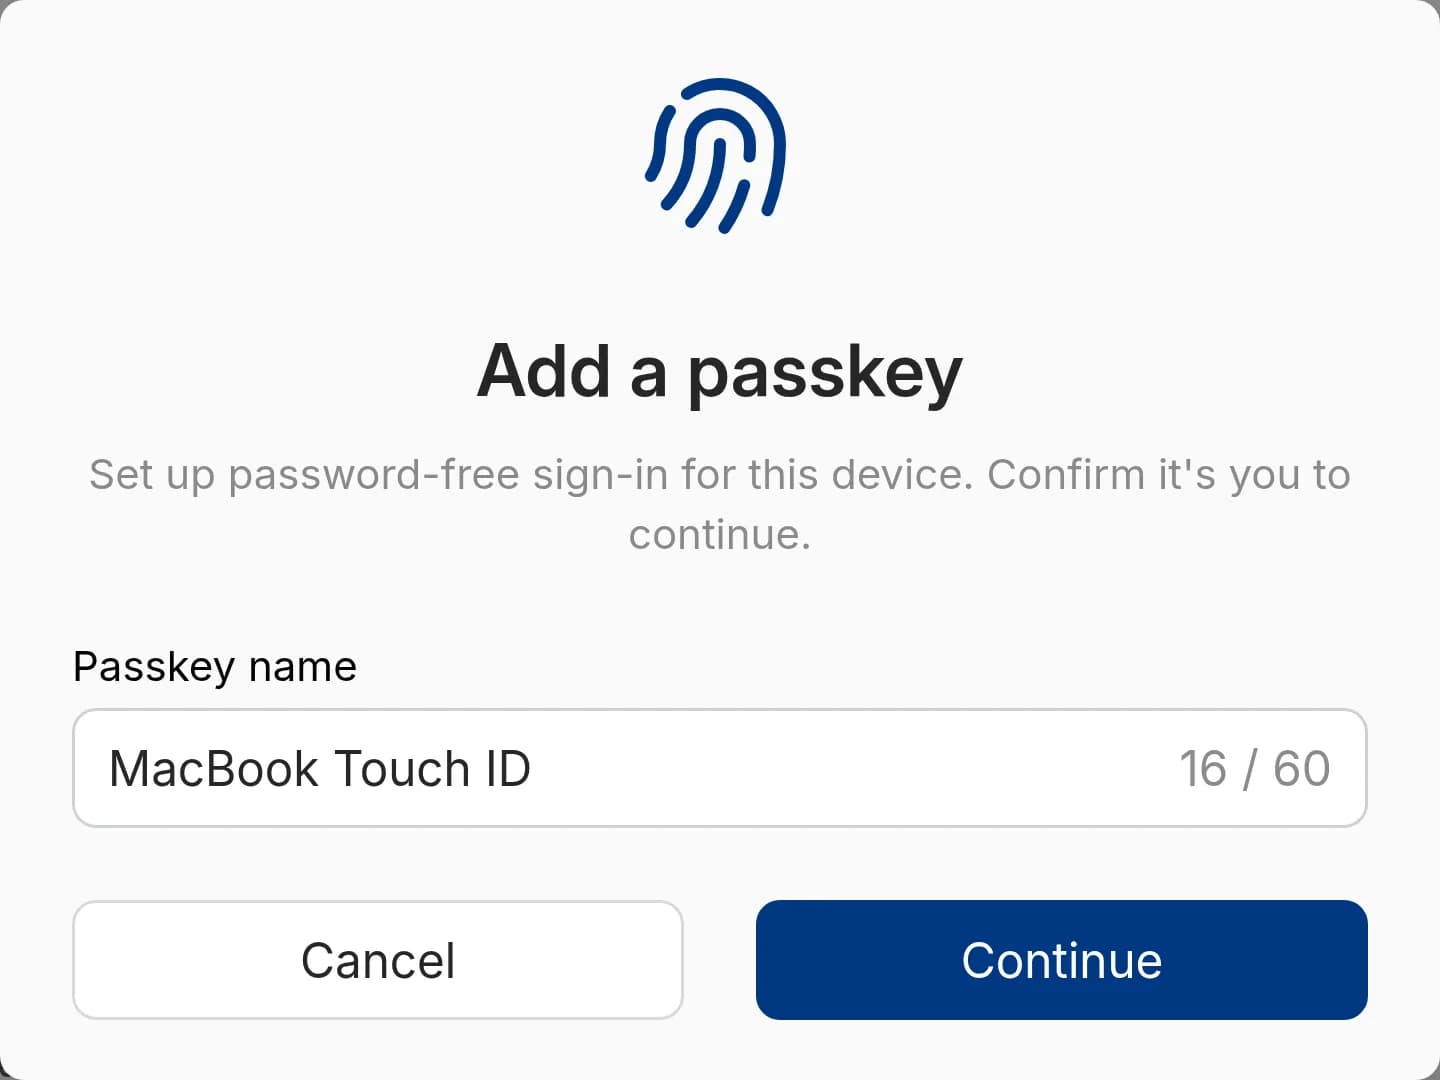
This will bring up the Add a passkey window, allowing you to give your passkey a name of up to 60 characters. The field will start with your browser and operating system (for example, "Chrome on macOS") so make sure to change it to something that tells you which device the passkey is on. Once done, click on Continue.
Next, the Additional Confirmation window as for additional proof that you are the owner of the account. You will need to enter your account password or the 6-digit code from your 2FA app if you have 2FA enabled. Next, click on Verify. If you have already added a passkey to your account, you can click on Use your passkey instead.
After that, your browser will open its own passkey prompt. Next, follow it and confirm with Face ID, Touch ID or your security key. The browser will then decide where the passkey needs to be saved - usually the current device, your password manager, a phone or a security key.
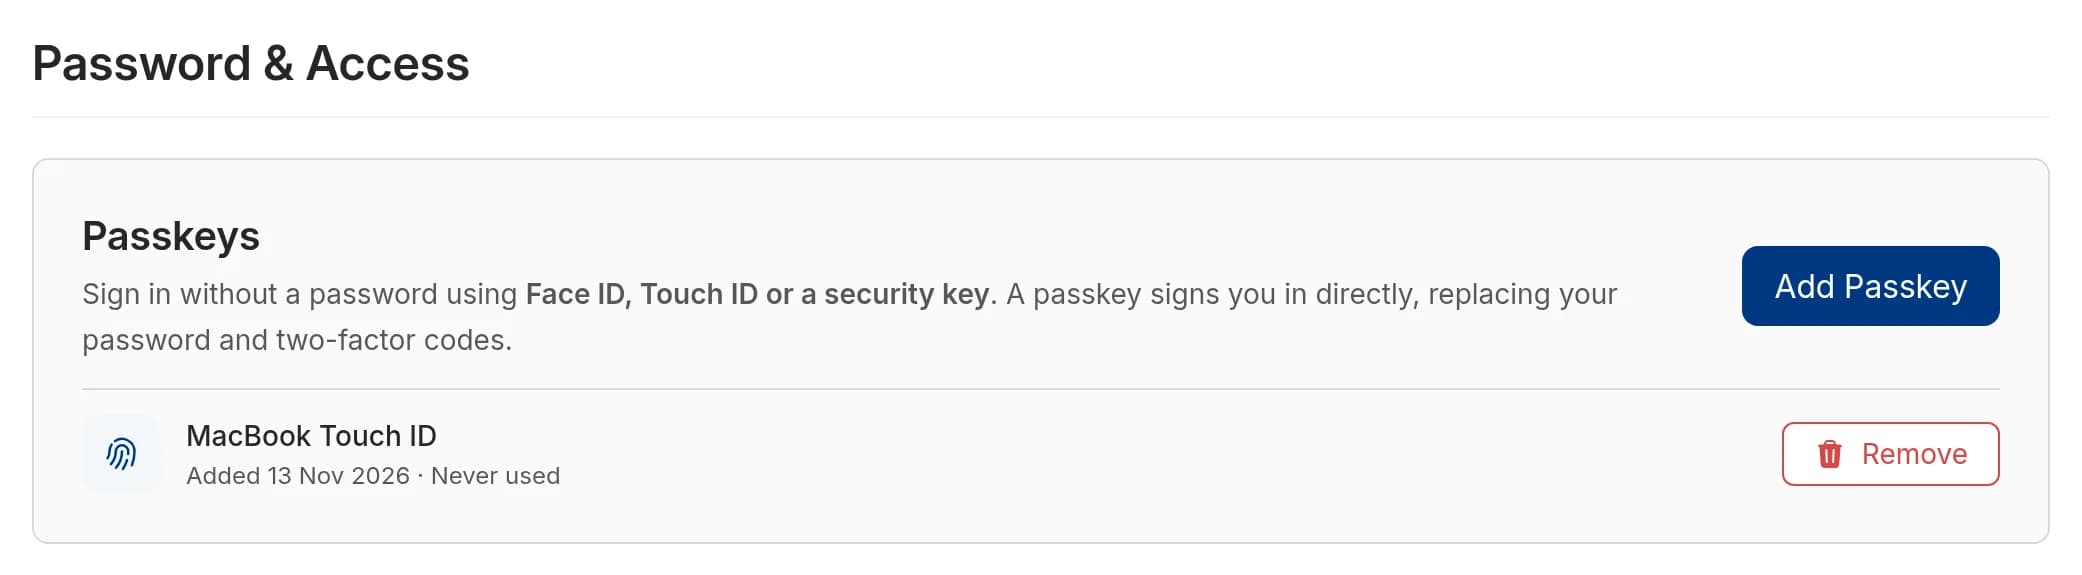
The new passkey will appear in the Passkeys section along with its name, the date that it has been added and when it has been last used.
A passkey that is saved in a password manager that syncs (iCloud Keychain or Google Password Manager, for example) will usually work on every device that is signed into it. A passkey saved on a single device or on a security key will only work there so make sure to add another passkey for each device you log in.
We will automatically send an email to your account's email address when a passkey is added or removed. If you see an unknown passkey in your account, make sure to remove it immediately, change your password and contact our support team as your account might have been compromised!
How to sign in with a passkeyCopy link
Open up the Console login page and click on the Sign in with a passkey button - you won't need to enter your login credentials.
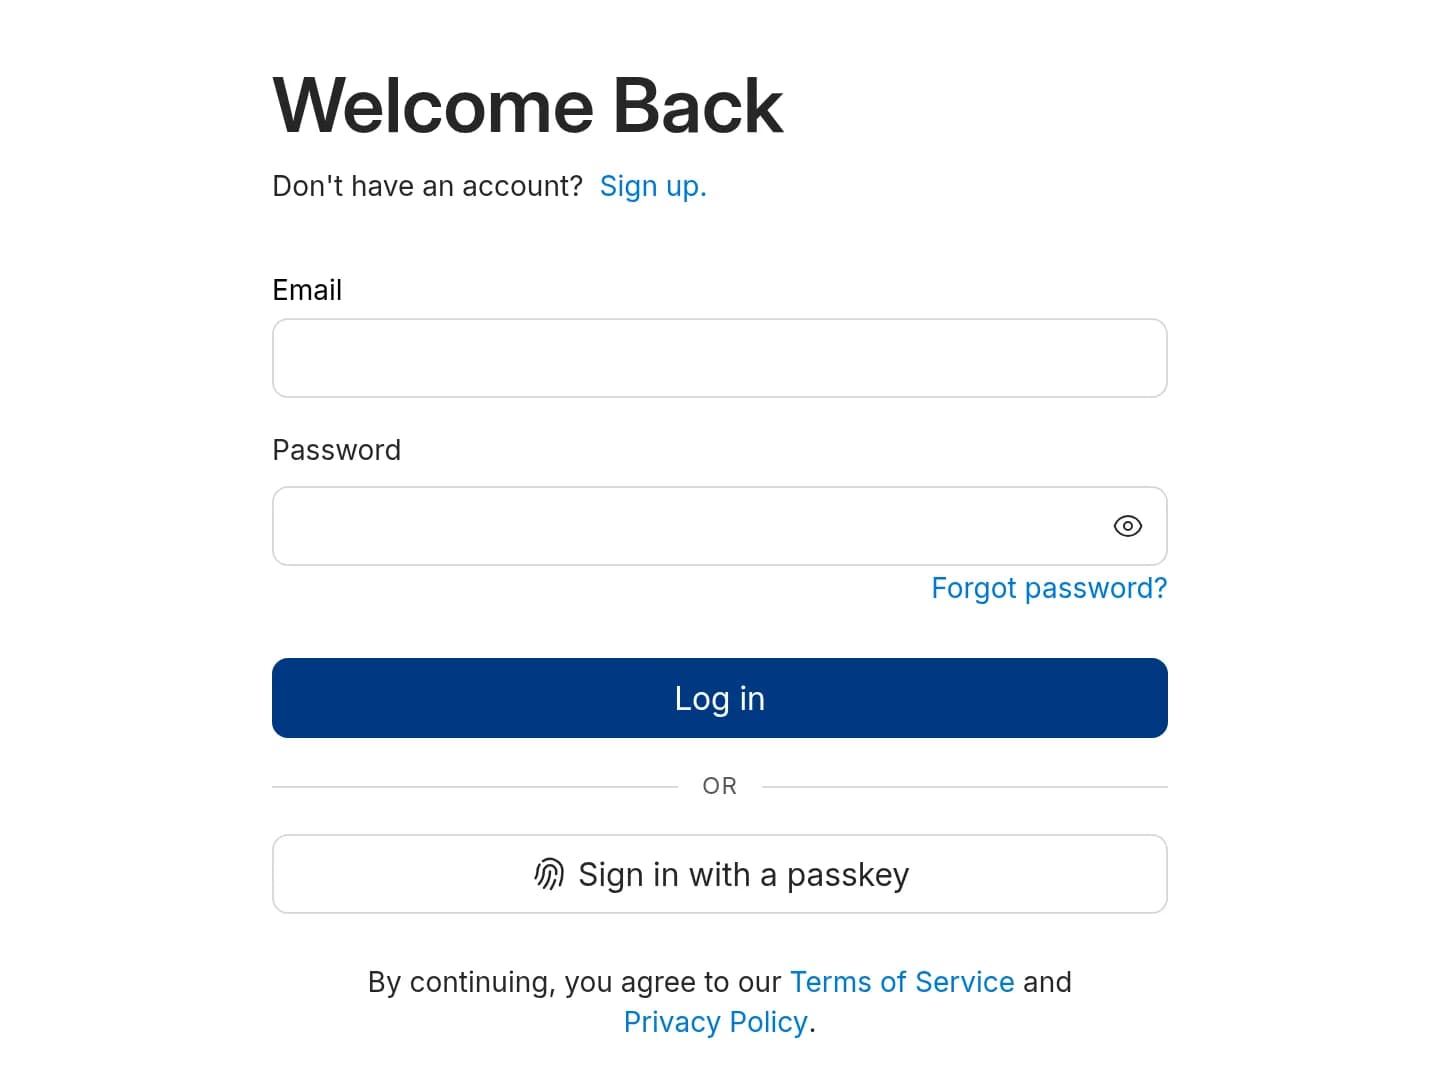
Your browser will then show the passkeys for your account. Simply, pick one and confirm with your auth method. For better usability, your browser may also offer the passkey when you click on the Email field.
After submitting the passkey, the browser will wait for a few moments before signing you in. If you want to return to the original password-based authentication form during this time (or if the submission fails), click on the Login with Password button.
How to confirm an action with a passkeyCopy link
Some actions in the Console such as deleting a service or creating an API token require additional confirmation. If you have a passkey added to your account, you can use it instead by clicking on the Use your passkey button in this confirmation window.
How to remove a passkeyCopy link
Navigate to the Passkeys section first, click on the Remove button next to the passkey and confirm. If the Additional Confirmation window opens, you will need to verify in the same way as when you add a passkey.
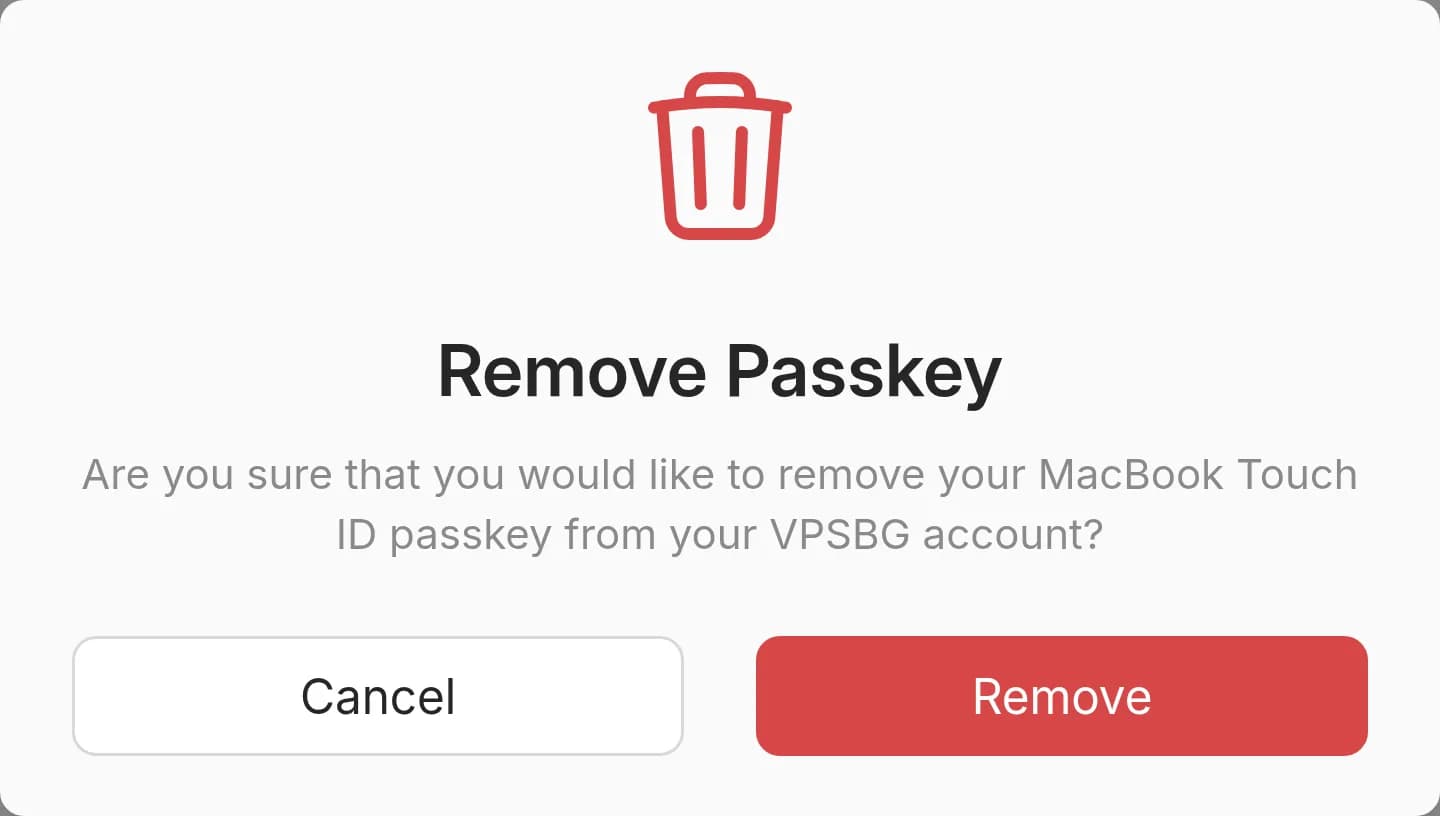
Once removed, you won't be able to sing into your account using that passkey. It will also stay saved on your device or in your password manager so ensure that you delete it there as well so that your browser can stop offering it.
If you lose a device that has a passkey, log in with your password or with another passkey and remove the lost one. If you remove your last passkey, you will need to sign in with your email and password the next time you log in.